Wednesday, March 24, 2010

The Incredible Q-Chord

I resisted getting a Q-Chord when it first came out due to the price. After seeing a colleague use the Q-Chord during a session, I realized there were several features that would be quite helpful when working with many of my clients. This is what a Q-chord looks like:
The Q-Chord has a great sound and it's very easy to play. To play a song, you press the appropriate chord button and then strum a finger across the metal plate. These tasks can be shared - one person can press the chords while the other strums or visa versa. The Q-Chord has a variety of different voices and accompaniments and is tons of fun to explore.

I use the Q-Chord to stimulate interaction, increase coordination, stimulate gross and fine motor skills and increase self expression.


To find out more about the Q-Chord, go to this website:
http://www.suzukimusic.com/education/qchord/

Monday, March 22, 2010

Song Puzzles

I like to do Song Puzzles with my children who are early readers and those that can use some assistance with sequencing. Start with a song that is very familiar to the child. Print the song line by line preferably on a piece of construction paper. Take the lines of the song and mix them up on a table in front of the child.
Using musical prompts (humming part of the song or singing it if needed) encourage the child to identify the first line on down to the end of the song.
Try to use musical prompts and try to reserve physical prompts (pointing, moving lines or assisting them to move lines) for use if the musical prompts aren't working.

If the child gets really good at putting the puzzle together for one song, try printing lines for two familiar songs and mixing them together!

Thursday, March 18, 2010

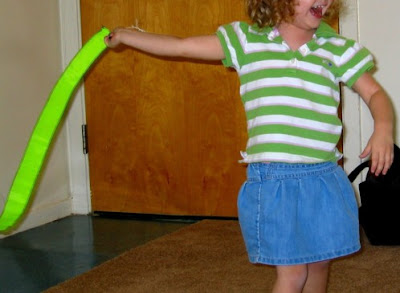
Learning Directional Concepts with Streamers

One of the components of most of my sessions is movement to music. Face it - it's just fun and kids usually respond with little prompting when you turn on some music and ask them to dance!

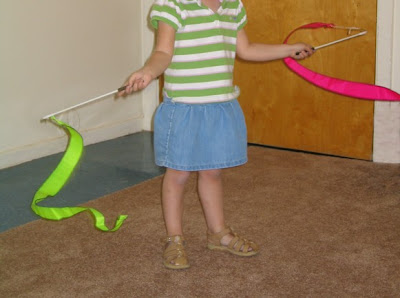
I have a favorite set of streamers that I purchased through West Music. Colored scarves also work.

Choose (instrumental) music that will encourage steady movement, but will not compete with your spoken instructions. For this particular activity, I enjoy using Unaccompanied Cello Suite No. 1 in G major with Yo Yo Ma. The song has just the right variances in dynamics and encourages graceful movement. 

When doing this activity with a student for the first time, I allow them to pick 1 colored streamer of their choice requesting the color by name if possible.
Then, as we move to the  music, I will give directions such as up, down, up, down matching the rhythm of the music and giving ample time to respond. I prefer using verbal and visual cues while doing this activity, but some children may need some gentle physical prompting if they are having difficulty understanding the movement. Other directions may include way up high, way down low, and 'round and 'round. You might even use fast and slow in the mix.

Adding another ribbon adds another movement dimension, but once they've mastered the concepts with one ribbon, I ask them if they'd like to use two!
Many of my students have responded well to being the leader during this activity. After following my instructions, I ask them if they would like to be the leader.

I always end this activity with some free movement as they may have had to use a lot of impulse control during the activity to stay on task. Verbal encouragement to stay on task is much easier with the promise that they will get to move any way they want at the end!

Sunday, March 14, 2010

Keyboard Concentration

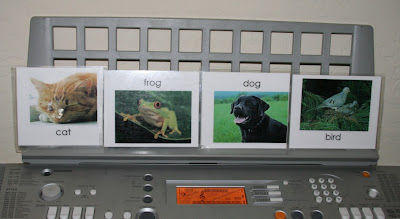
Most keyboards have a setting with sound effects or instrument sounds. My keyboard (see post on January 18) happens to have a setting that includes animal sounds and other common everyday sounds. I made 3 X 5 cards with pictures of the animals (can you tell I like to use a lot of visual cues with my children?) and begin by putting one card on the keyboard.

I usually demonstrate where the match to the picture can be found, then ask the child to press the appropriate key. Depending on the child, I normally present 2-5 cards per session. If they have difficulty remembering where the matching key is, I encourage them to find a "keyboard clue". Is it on the C, the red key, the highest key on the keyboard?

Once the child has mastered finding one sound, we move to two, then three and four and attempt to find the sound in the order presented on the cards. Eventually, many of the children I work with enjoy setting up their own order of cards on the keyboard.


For children that have difficulty following the order of cards, I encourage pointing to each card before playing the match on the keyboard.

Many children could probably identify the sounds of different instruments on the keyboard too. I think the key is making sure you can stay on the same setting or voice for each set of cards.

This activity has also been beneficial when working with children with noise sensitivities. One child I worked with had difficulty hearing the cow sound on the keyboard. After playing this game for a while, she was able to hear the sound if I turned the volume down, and eventually she would pick the card on her own and listen to it at full volume!

Wednesday, March 10, 2010

Head, Shoulders, Knees and Toes Mix Up

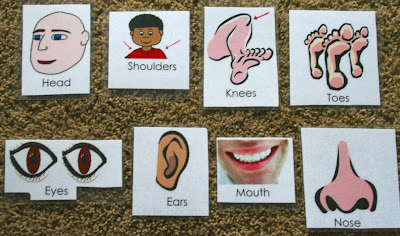
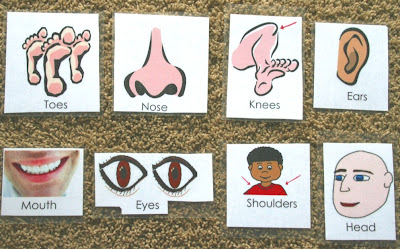
An fun activity that I have used with good results involves the well known song, "Head, Shoulders, Knees and Toes." I printed pictures of all of the body parts named in the song, cut them out and laminated them. I then set them out in the order they are sung.
We first sing the song while I point to the corresponding card. Then, I mix the cards out and set them up in a different order.
We sing the song again, this time tying to use the new order of parts. Initially I will point to the cards as we sing, but eventually we try to point to the corresponding part on our body. Usually, the children I work with want to pick an order of their own! This activity is great for children who have difficulty taking things "out of order" and frequently the activity is fun enough for them to "try" a different order. It is also great for practicing "taking turns" while putting the cards in a new order.

Monday, March 8, 2010

Practicing Number Recognition on the Drum

I'd have to say the overall favorite instrument of the children I have worked with is the gathering drum. Unfortunately this has been the least favorite instrument of the adults in close proximity to my office!

The gathering drum has a warm reveberating tone that absolutely draws children in and makes them want to hit it again and again - so obviously one skill we work on with the drum is impulse control!

The following exercise requires impulse control and encourages number recognition and the connection between the visual number and the harder concept - "number sense".

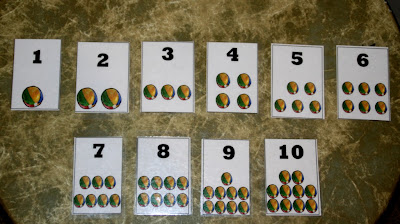
I made a set of number cards - each number on its own 3 X 5 card. On each card, the number had the corresponding amount of balls.
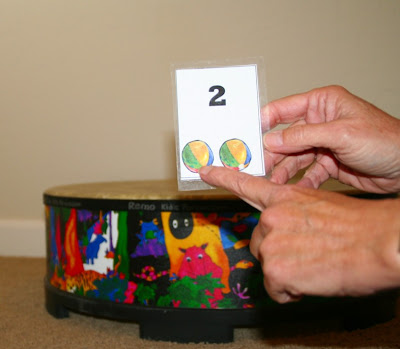
I place the numbers on the gathering drum and tell the child I am working with that we will get to play the drum upon completion of this "game". Begin by practicing counting 1 - 10 while pointing to the number on each card.

Then pick a card - I usually start at the beginning with 1. Tell the child you are going to hit the drum 1 time. Encourage the child to also play the drum 1 time and point to the ball on the card as they do. Once they are able to hit the drum just one time, go to the 2 card.
 
Count to two while pointing to the balls. Ask the child to do the same. Then once again tell the child you are going to hit the drum 2 times. Ask them to do the same. Repeat with each of the cards until the child is able to hit the drum the correct number of times on the drum. At the end of the exercise, reward them by letting them play spontaneously with their hands - and play along too if they will let you!

Once the child has mastered this exercise, you can shuffle the cards, have them pick a card and play the corresponding number on the drum.

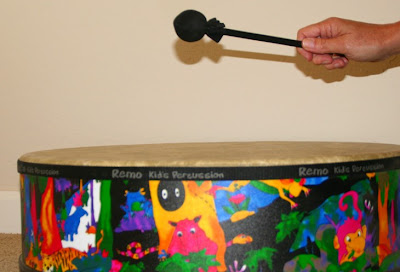
As a final step, once the above exercises have been mastered, I will encourage the child to do this activity with one mallet. This adds an additional level of impulse control, so be sure they have the first steps mastered before handing over the mallet!